Hull Sanding
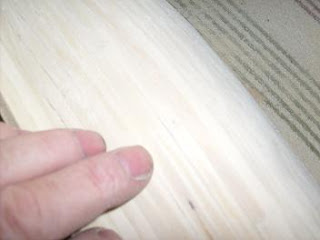
After the hull was planked, I applied some thinned putty on some of the imperfections. the lack of powered tools, meant that I had a lot of hand sanding ahead of me. the sanding blocks that i use are made of simple plywood, cut into small, different sized rectangles, in which sandpaper is fitted on with thumbtacks. trying to stay with the grain as much as possible, I began with long strokes along the hull. when a deviation was felt, I would concentrate on it, until it conformed with the contour. as I went down below towards the keel, I would then give the block a rocking motion, in order to round out this particular contour. in the construction of the hull, along the bottom of the bulwark {along the deck line}, the rub rails were to be cemented in before the planking was to commence, but I chose not to install them at this time. Instead, I would install them after the sanding was completed. I felt that they would be in the way when it was time to cut out the water scuppers for the deck and should they get nicked by the sanding, they would lose some of their aesthetics. both the bow and the stern needed some extra attention with sanding and shaping. even though i wet the planks to make them more pliable, some of the planks did not lay the way i wanted them to.
the bow showed most of the contortion problems, but after some sanding, it began to take shape. a few cracks are still there, but this round of sanding is aimed at bringing the hull to it basic shape. there will be the second round, when more thinned putty is applied, that I will eliminate these lines and such.
I sanded and contoured the stern to give that "high rump" look that is a characteristic of this particular
ship. this will be complete when I sand and contour the top of the bulwarks at the stern joints. this area slopes upward cresting to an apex at the stern stem. along the bulwark / plank line, it was sanded flush to keep this line in check, readying it to accept the rub rails....there is another short rub rail that will run down the stern stem towards the rudder. I'll do that at the same time. the sanding did uncover some of the nails that I didn't remove....I removed them as I went along. I removed a total of ten more brads.
after a good couple hours of sanding, I had had enough. in addition with the use of the blocks, I did quite a bit of hand sanding, using various grits of sandpaper. I ended the session with fine sandpaper, in an effort to smooth out any rough paper marks. the second sanding should take care of the rest of the imperfections and allow me to move on to the deck. when i set up to begin this, I thought that I might add this as part of the build log.......this "is" a very important step......without it, you would end up with a "scow".
this is the table in which the Nordkap was being built on. the towel that I was using is gone now, the last thing to be removed before a nativity scene will grace this table. it was rather cold in the cellar, so I figured I would use the table for one last operation. I won't be as lucky for the second sanding, unless i use the dinning room table. my wife will really love that......LOL!


